Make brilliant bird feeders
You’ll need
- Mixing bowls
- Wooden spoons
- String
- Spoons
- The items for your chosen bird feeder
- Tablecloths or newspaper
Before you begin
- Use the safety checklist to help you plan and risk assess your activity. There's also more guidance to help you carry out your risk assessment, including examples.
- Make sure all young people and adults involved in the activity know how to take part safely.
- Make sure you’ll have enough adult helpers. You may need some parents and carers to help.
Planning and setting up this activity
- This activity can get messy. You may want to do this outside.
- Check for allergies when using foods in activities (even if not for consumption), such as making bird feeders with peanut butter. This may include making sure no-one at home has a relevant allergy if the item will be taken home. This may mean you need to change the ingredients used. If you’re unsure, check with the young person and their parents or carers. You can check with the adult directly if it’s a volunteer or helper.
- The fat you use needs to be high in saturated fat. If anyone doesn’t want to use lard or suet, you could use coconut oil as an alternative that doesn’t come from an animal.
Running this activity
- Gather everyone together and ask people what they know about birds. You could see how birds you could name, ask if anyone can do a bird impression or see if anyone knows any bird facts.
- When everyone’s ready, you can start making your bird feeders.
- If you’re working inside, cover tables with wipe clean tablecloths or newspaper, then hand out the ingredients and equipment.
- At the end, you may wish to put the bird feeder in something to take home. You could use paper sandwich bags, or ask people to bring a spare container or plastic bag.
- If anyone can’t hang their bird feeder up at home, see if you can hang it outside your meeting space instead.
- When people hang up their bird feeder, there are lots of resources available to help everyone identify birds that might be using it. You could use the RSPB spotter sheet or their online bird identifier to identify some common birds.
You’ll need:
- One apple
- Sunflower seeds (shelled or unshelled)
- String or twine
- A knife or corer
Instructions:
- Pour the seeds into a bowl.
- Carefully, with adult supervision or help, use a knife or apple corer to remove the core from the apple, leaving a hole through the middle of the apple.
- Push sunflower seeds directly into the flesh of the apple.
- Cover the surface with seeds, pressing them in firmly so they stick.
- Thread a piece of string or twine through the hole in the apple and tie a knot to secure it.
- Leave enough string to create a loop for hanging.
You’ll need:
- Yogurt pot (washed and dried)
- String or twine
- Birdseed
- Lard or peanut butter
- Bowl
Instructions:
- First, eat the yogurt, then clean and dry the yogurt pot if you haven’t already.
- Next, mix the birdseed with lard, peanut butter or coconut cooking fat to help it stick together.
- Fill the yogurt pot with birdseed. You can mix the seed with melted lard or peanut butter
- Next, cut a length of string and wrap it around the pot, tying it tightly.
- Tie the ends of the string together above the pot to create a loop for hanging. The yogurt pot should dangle securely with the string wrapped around its top edge.
- Once the mixture has set, you can hang the feeder from a tree branch or hook. Birds will cling to the edge of the pot and feed from the seed mixture inside.
You’ll need:
- Toilet tube
- Peanut butter or lard
- Birdseed
- Twine or string
- Bowl
Instructions:
- Cut a length or twine or string, then thread it through the toilet tube. Tie the two ends together.
- Using your hands or a knife, spread peanut butter or lard on the outside of the toilet tube. You may want to wash your hands afterwards.
- Pour the bird seed into a large bowl.
- Roll the sticky toilet tube in birdseed until it’s fully coated.
- Place the bird feeder into a bowl, on a plate or onto a piece of kitchen roll to dry.
- When it’s dry, hang it outside.
You’ll need:
- Yogurt pot (washed and dried)
- String or twine
- Birdseed
- Lard or peanut butter
- Pencil or push pin
- Plasticine or sticky tack
- Bowl
Instructions:
- First, eat the yogurt, then clean and dry the yogurt pot if you haven’t already.
- Carefully and with adult supervision, make a hole in the bottom of the yogurt pot with a sharp pencil or a push pin. Make sure to keep your fingers out the way and push the pencil into something soft, such as plasticine or sticky tack.
- Double up a length of string and feed through the hole in the pot. Be sure to have the loop at the top.
- Next, mix the birdseed with lard in a bowl.
- Squash the seed mixture into the pot. Keep pulling the sting tight so it remains in the centre.
- Tie a lollipop stick at the base of the mixture using the two free ends of the string.
- Put the yogurt pot in the fridge until the mixture sets.
- Once it’s set, carefully remove the yogurt pot, then hang your bird feeder from your chosen place.
- You can reuse the yogurt pot to make more bird feeders too!
You’ll need:
- Plastic bottle
- Wooden sticks, wooden spoons or pencils for perches
- String or twine
- Birdseed
Instructions:
- Carefully, with adult supervision or help, cut or poke holes (big enough for bird beaks) near the bottom of the plastic bottle. Make sure to keep your fingers out the way and push the pencil into something soft, such as plasticine or sticky tack.
- Poke two small holes, one directly beneath and one opposite, each larger hole. Again, do this carefully, with adult supervision or help.
- Insert wooden spoons, sticks or pencils through each pair of smaller holes.
- Push them all the way, so they stick out of each side of the bottle. These will act as perches.
- Tie string around the top of the bottle to hang it up. You can also carefully make two small holes in the top of the bottle and thread string through for hanging.
- Take the lid off the bottle, fill the bottle with birdseed, then hang it outside.
You’ll need:
- Empty juice carton (clean and dry)
- Scissors
- String
- Birdseed
- Pin
- Sticky tack or plasticine
- Ruler
- Pen
Instructions:
- Take a juice carton and draw a rectangle on one of the wider sides of the carton.
- Carefully, with adult help or supervision, cut the rectangle out.
- You may wish to paint, glue things onto or decorate the carton.
- Carefully poke two holes at the top of the carton and thread string through for hanging. Make sure to keep your fingers out the way, have adult help or supervision, and push the pin into something soft, such as plasticine or sticky tack.
- Fill the bottom of the carton with birdseed, then hang it from a tree or balcony.
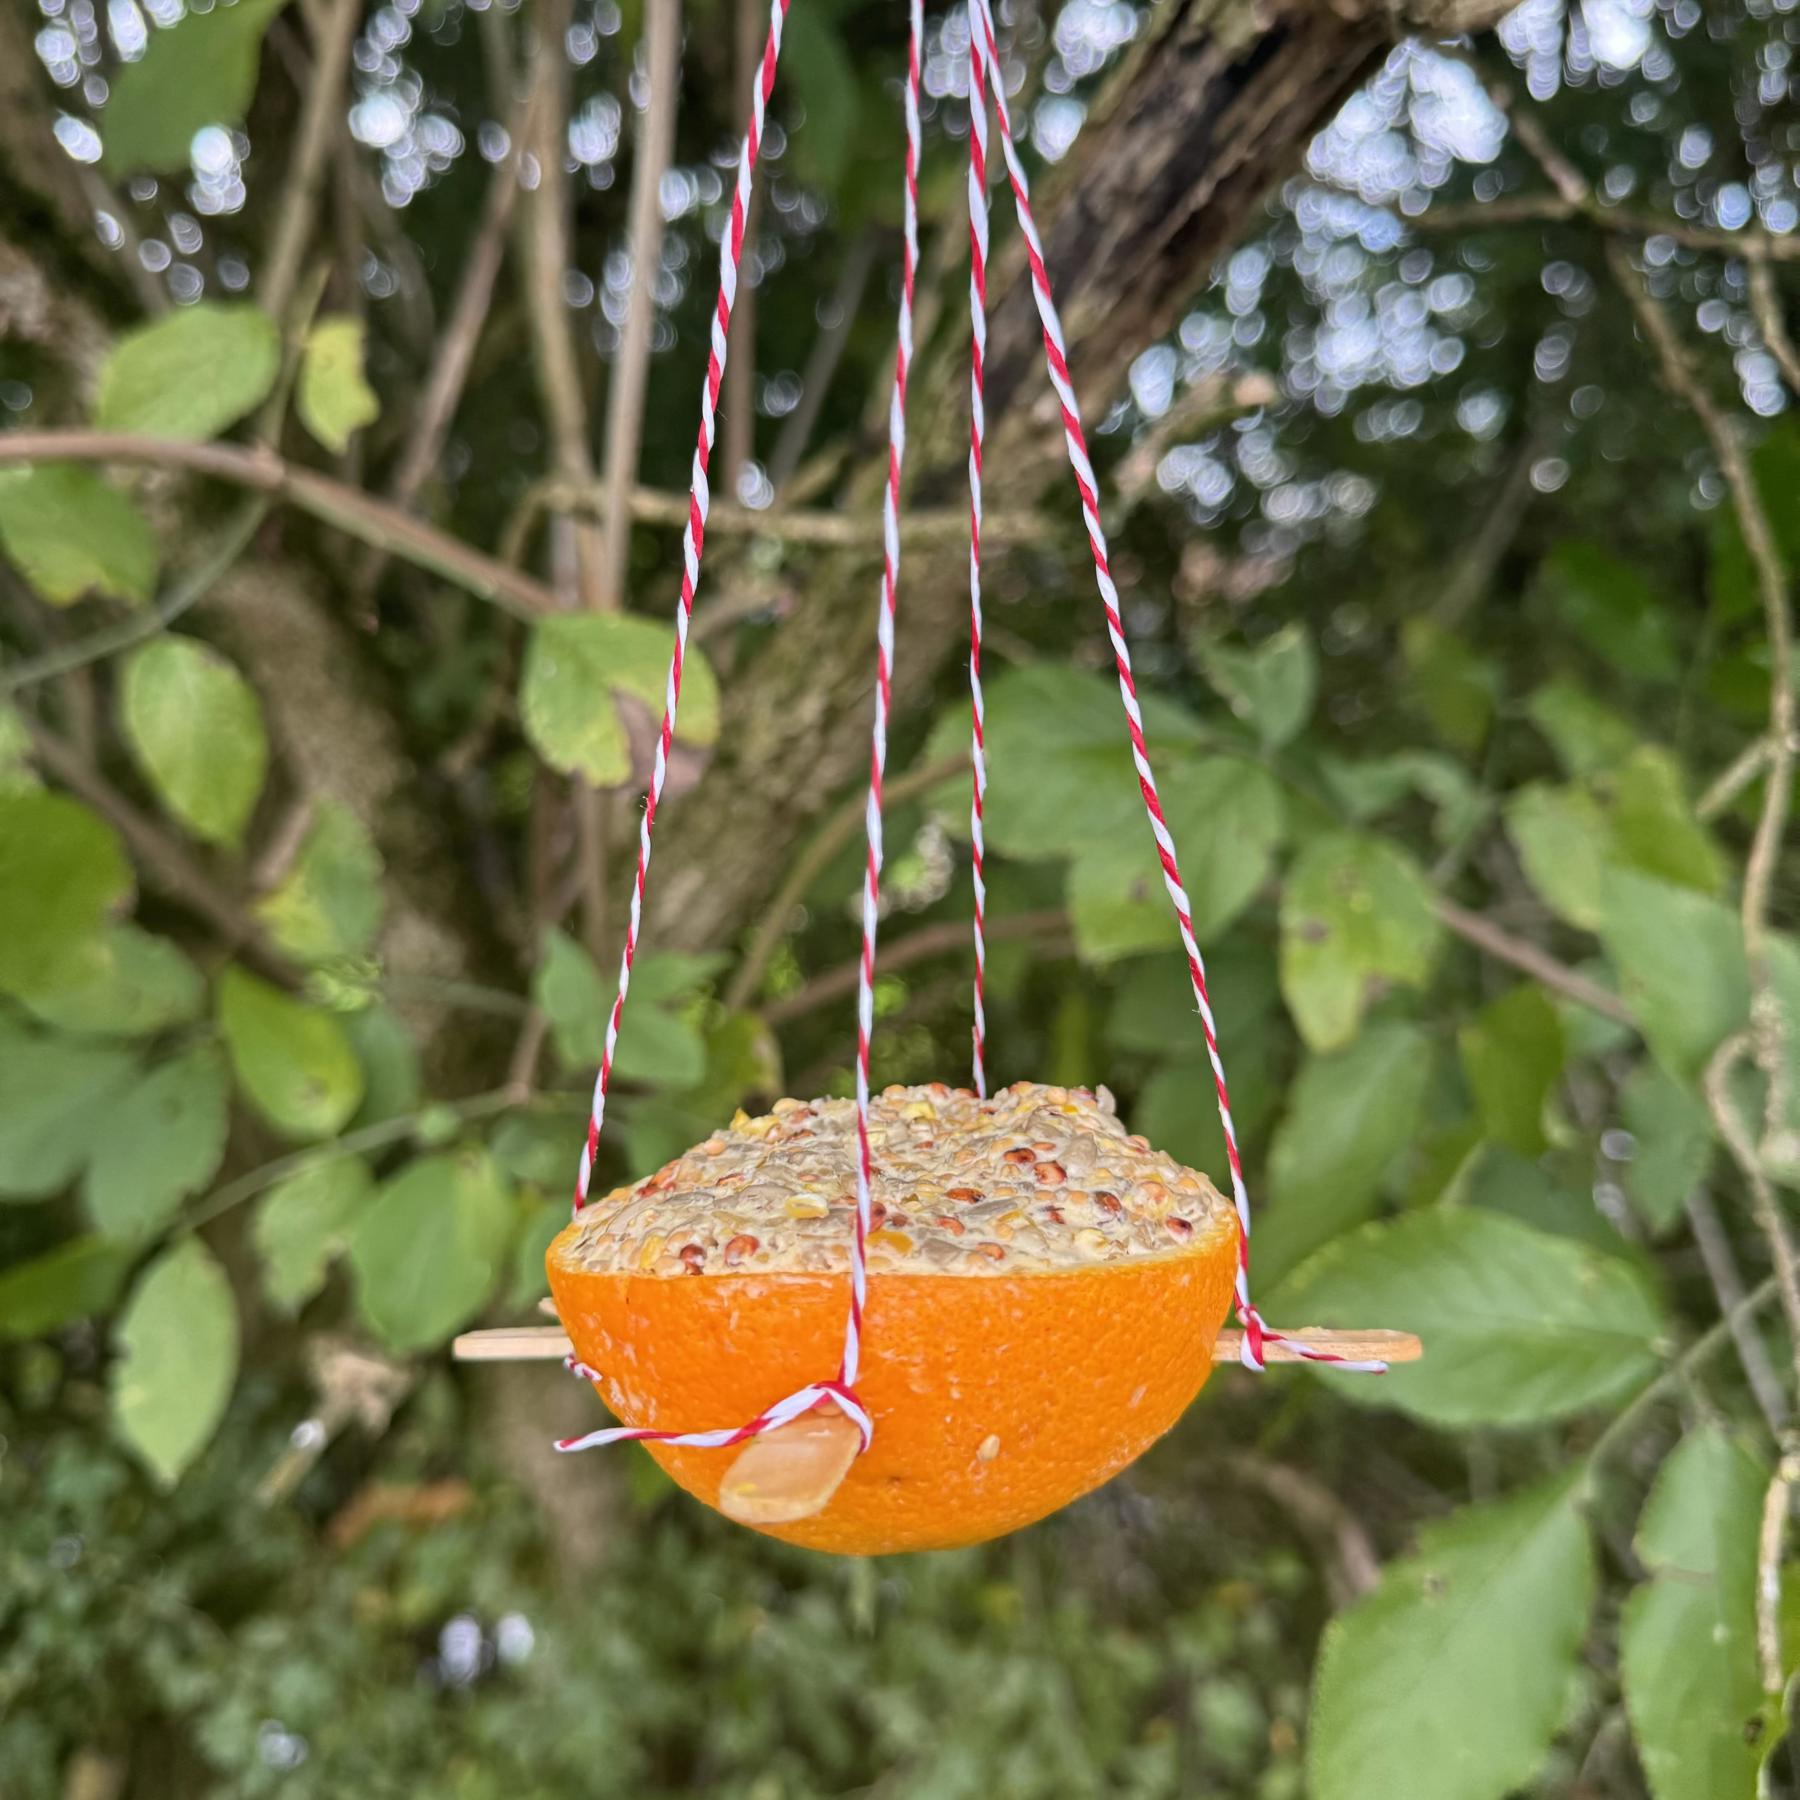
You’ll need:
- Half an orange (keep the peel intact)
- String or twine
- Birdseed
- Bowl
- Lard
- Two lollipop sticks
- Knife
- Chopping board
- Spoon
Instructions:
- Carefully cut an orange in half on a chopping board.
- Scoop out the inside of the orange half to leave just the peel. You can put this to one side to eat later.
- Take two lollipop sticks and push them through the orange peel at right angles, forming a cross shape. Insert them through the sides, near the middle of the orange half. This cross will act as a perch for the birds and provide stability for hanging.
- Mix it the lard and birdseed together in a bowl.
- Fill the orange peel with the birdseed mixture.
- Tie a length of twine or string to each of the lollipop sticks, then tie them together at the top for hanging. Make sure the twine is securely knotted around the sticks.
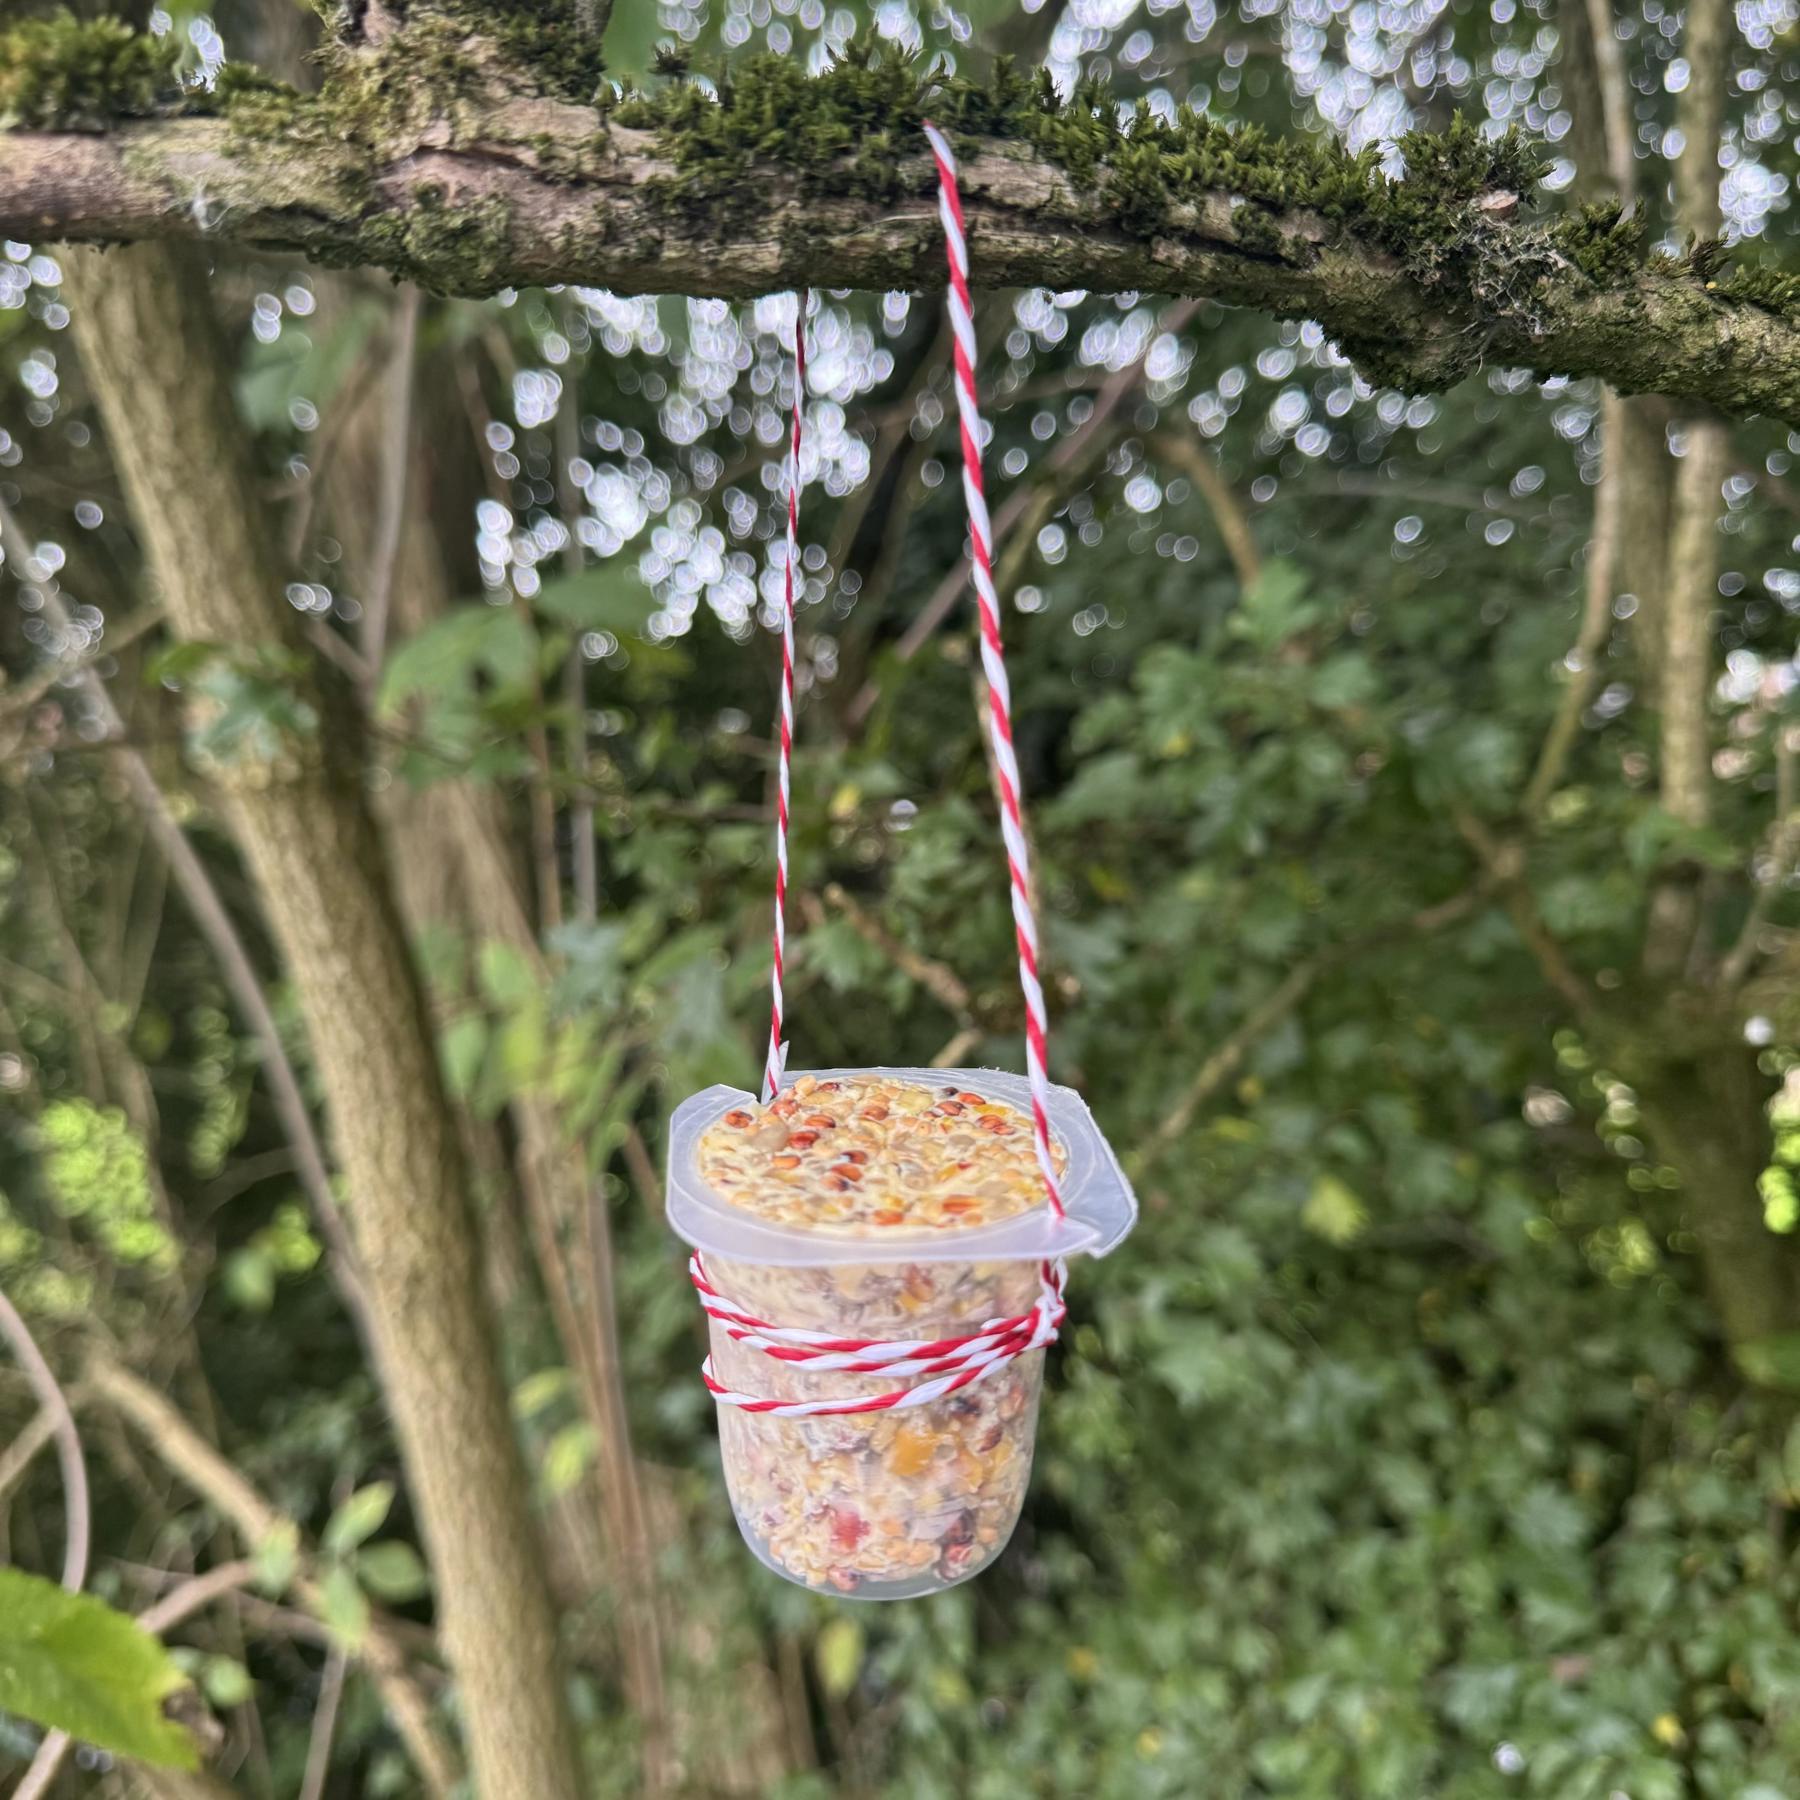
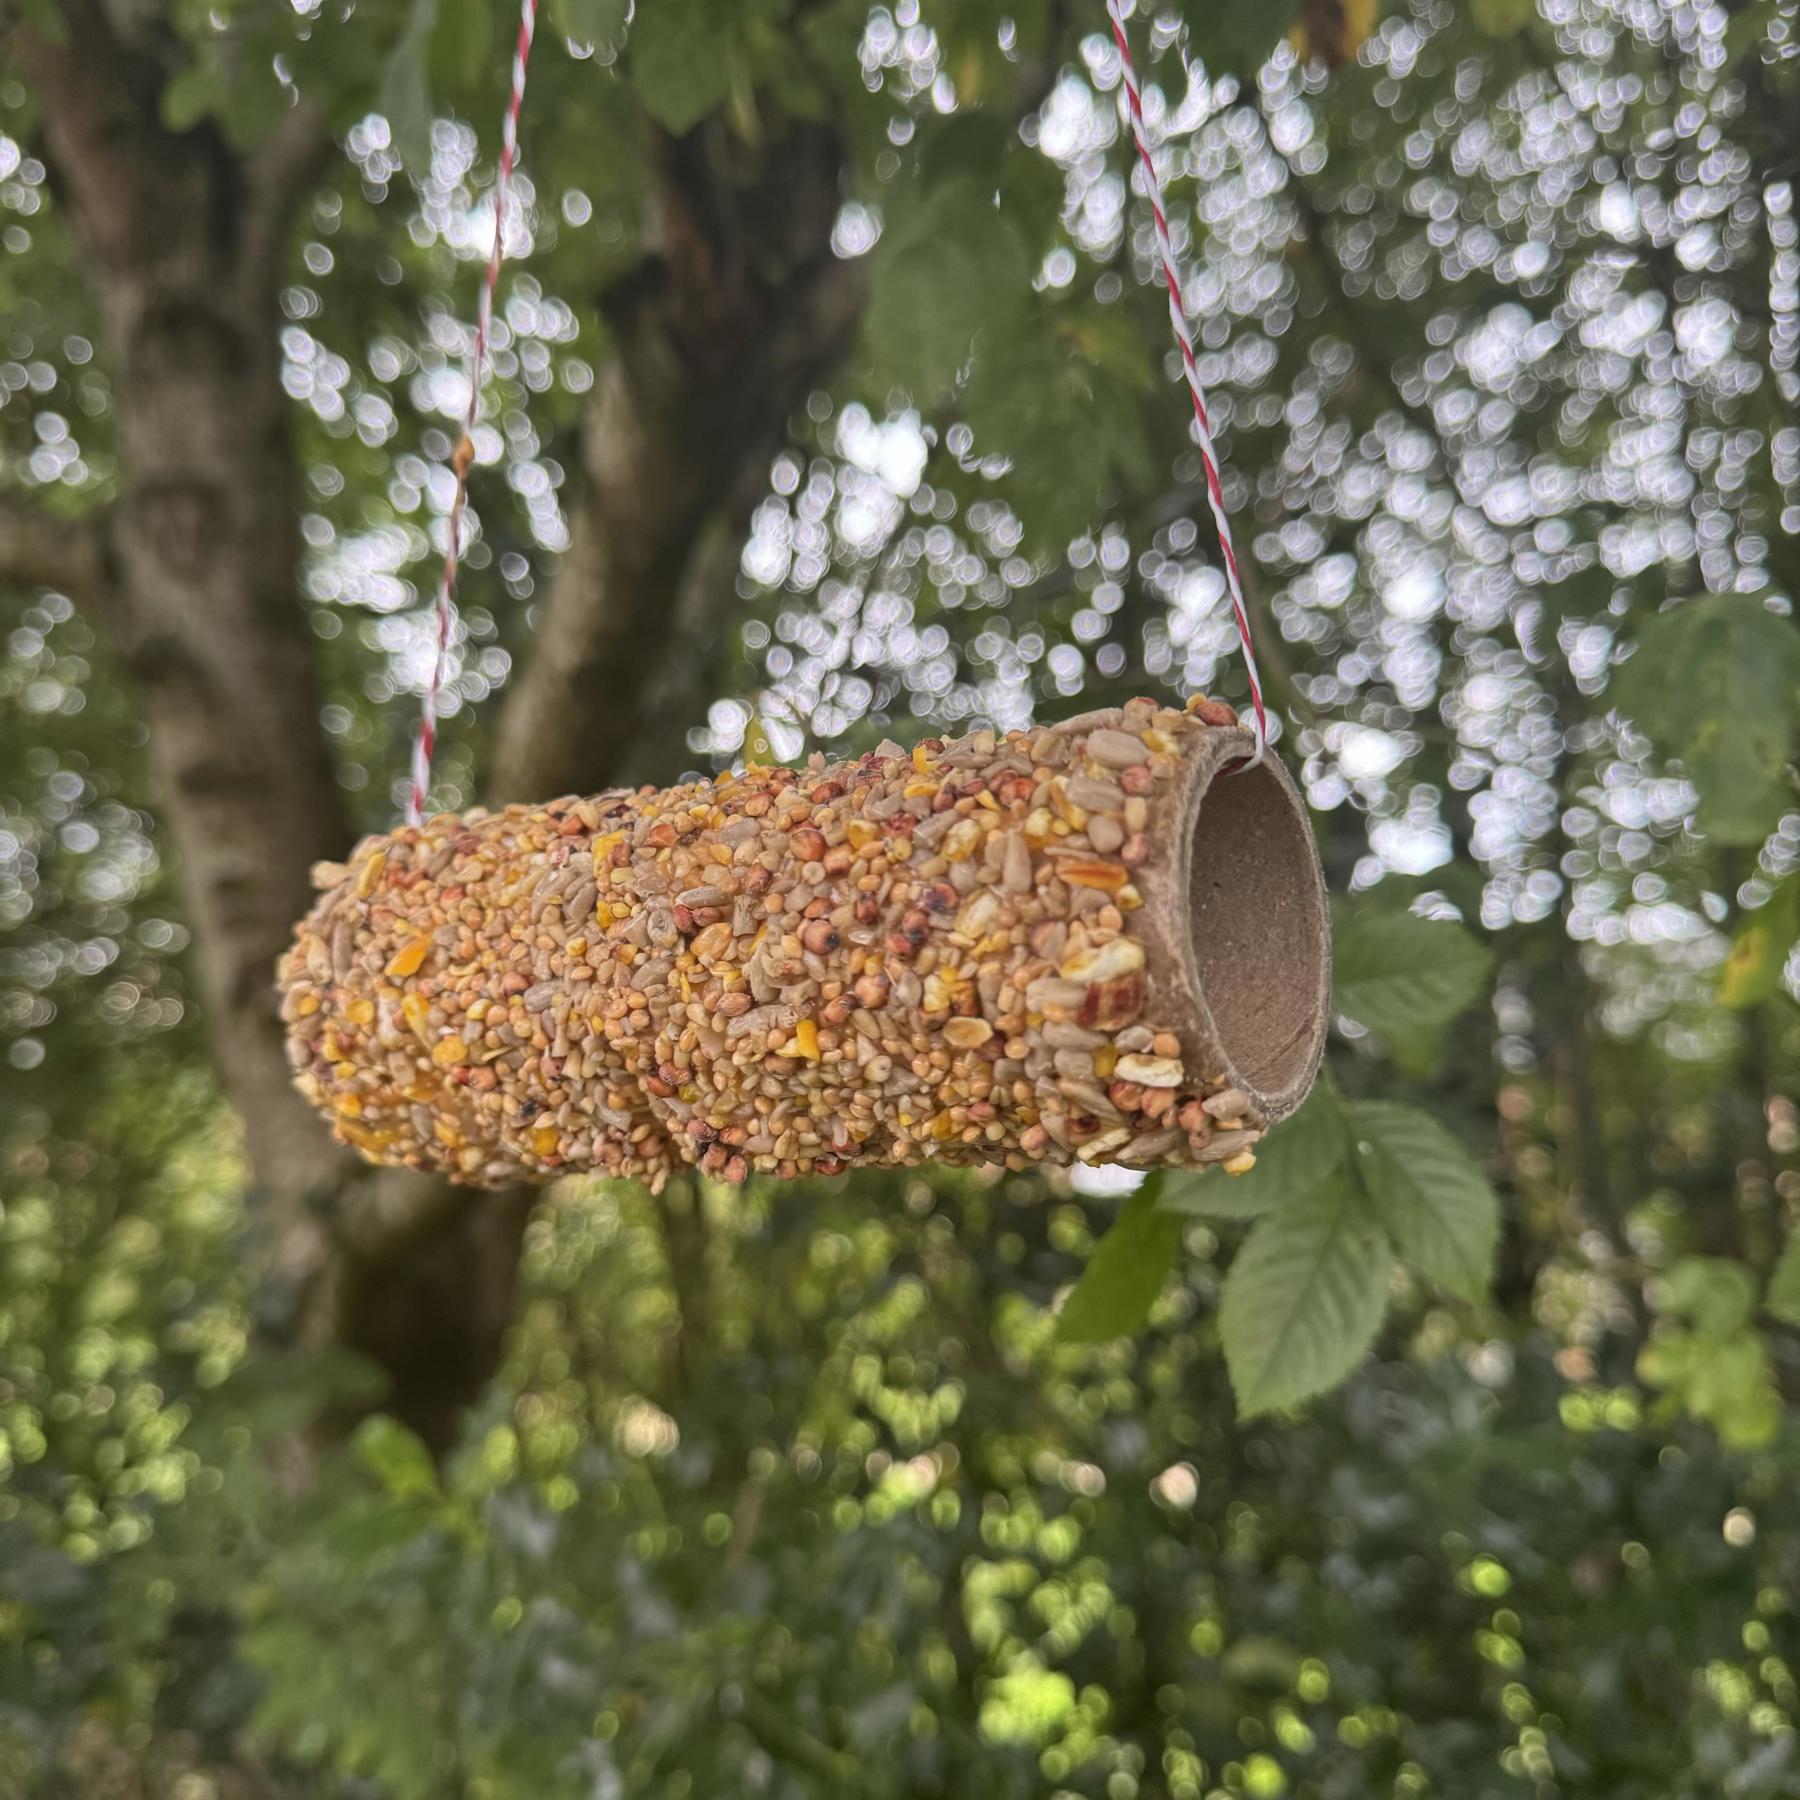
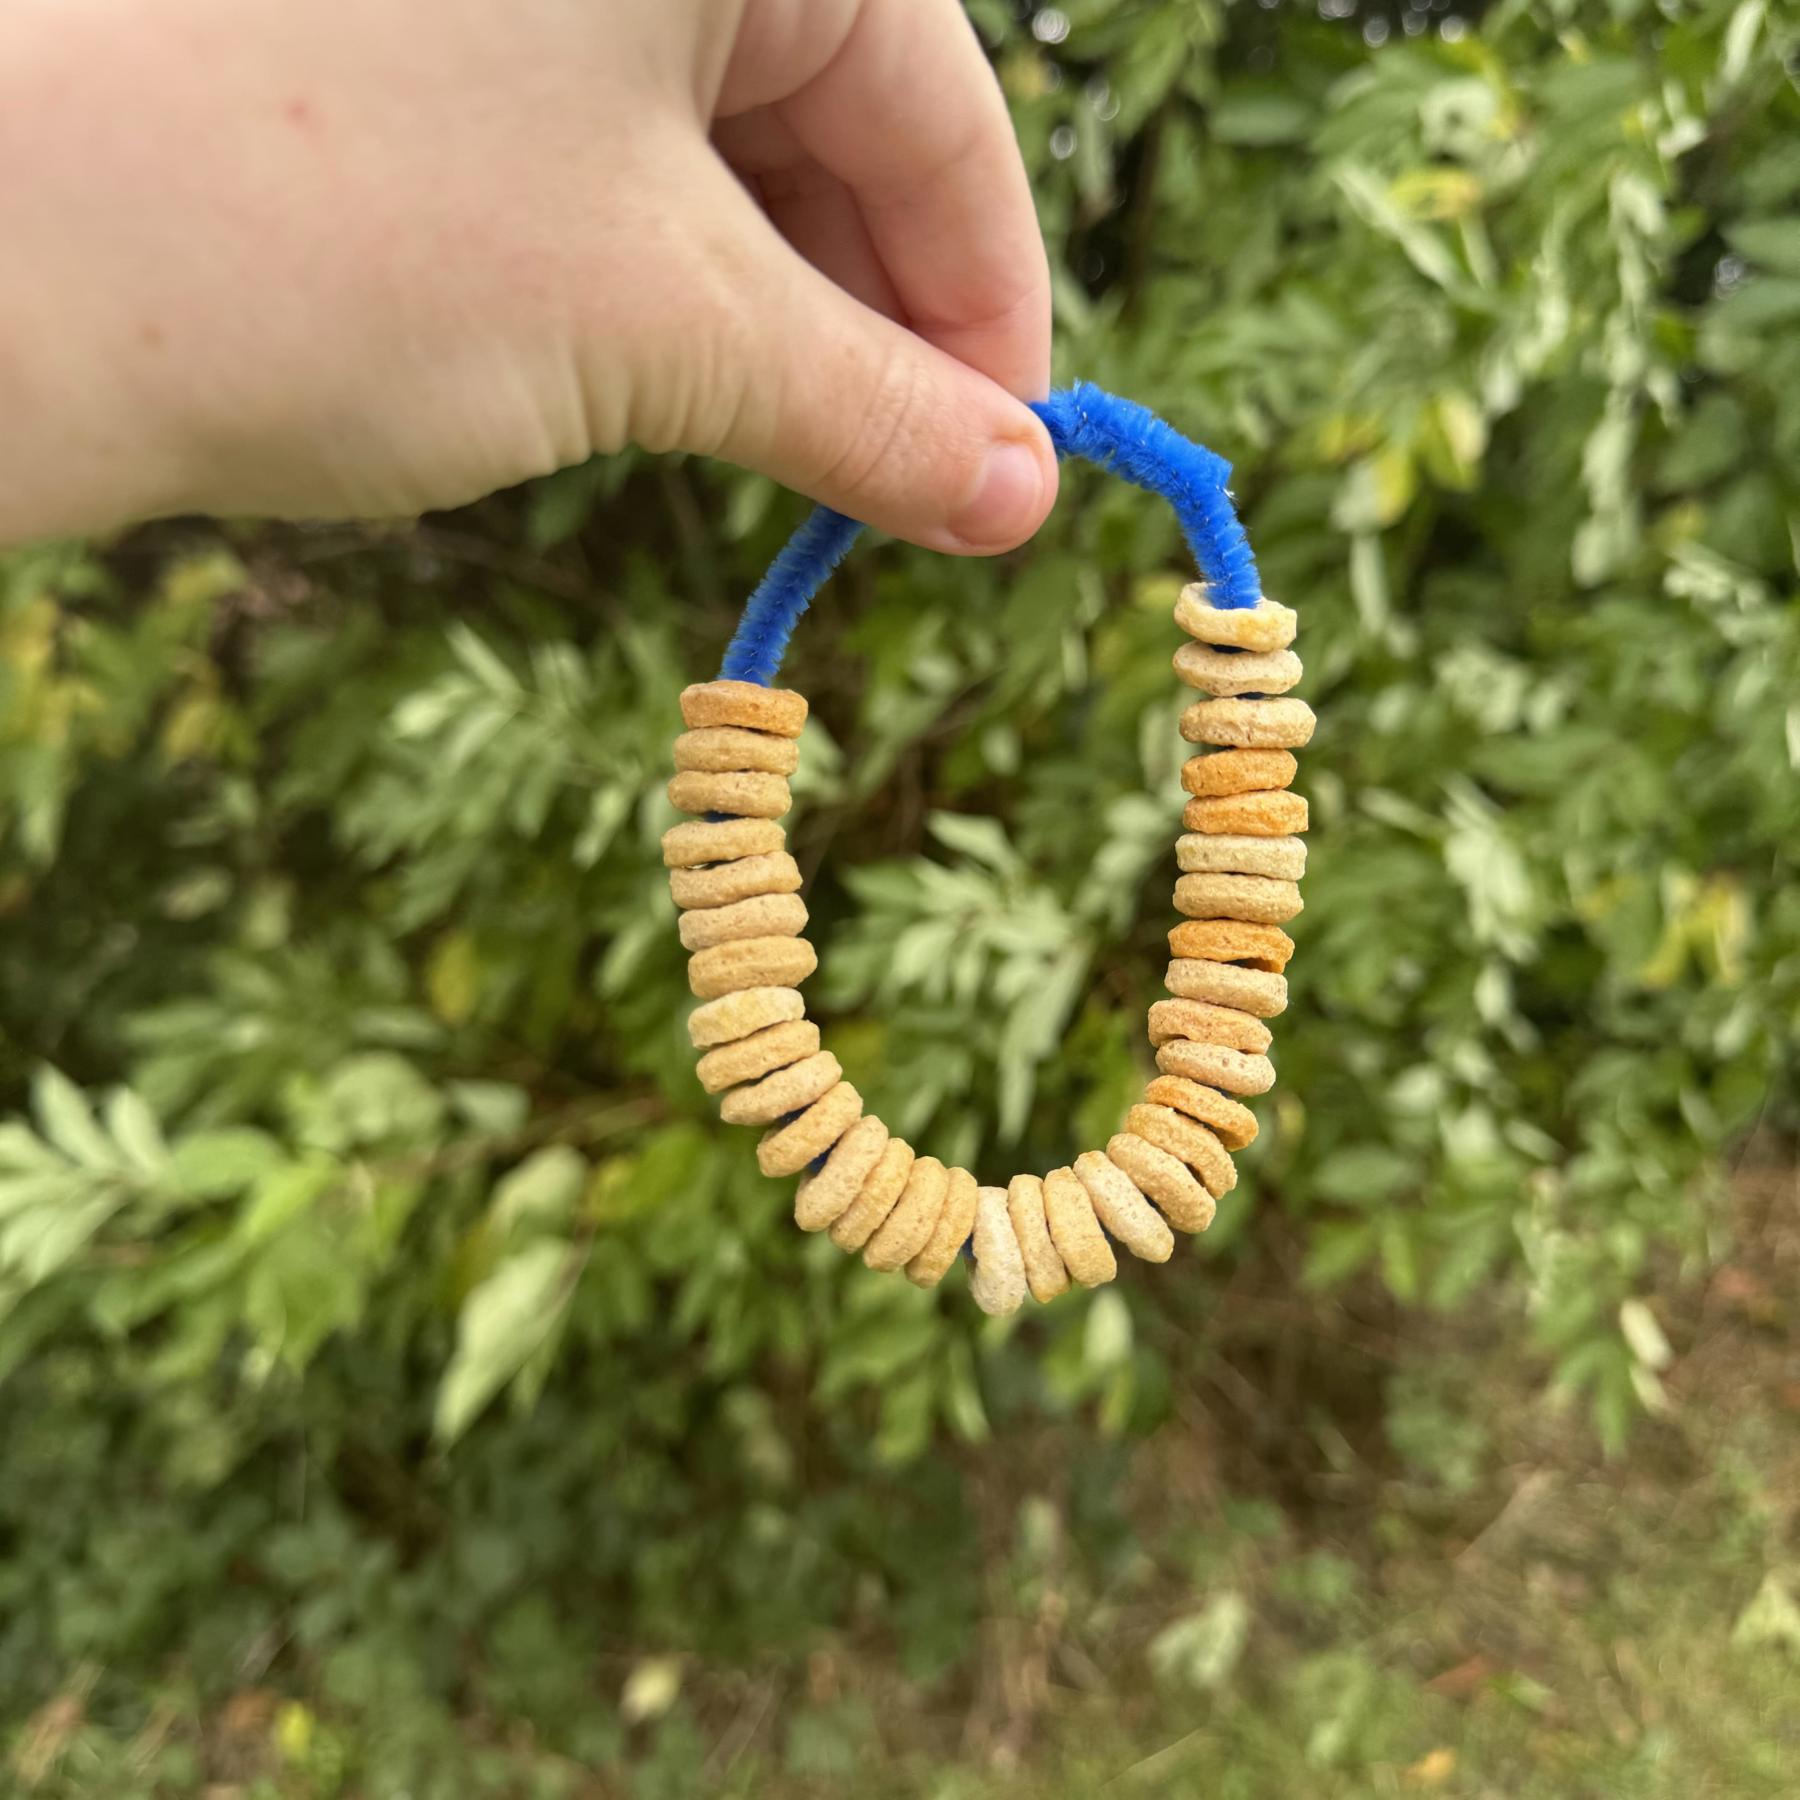
You'll need:
- One pinecone
- Lard or suet
- Birdseed
- String or twine
- Bowl
Instructions:
- Tie a piece of string or twine around the top of the pinecone to create a loop for hanging.
- In a bowl, mix together the lard or suet and the birdseed.
- Using a spoon or your hands, push the mixture in to the gaps of the pine cones, coating it thoroughly.
- You may wish to place it in the fridge to set for a bit.
- Once the pinecone is covered in seeds, hang it up using the string.
You'll need:
- Hoop cereal (such as Cheerios)
- Pipe cleaners
- Bowl
Instructions:
- Pour the hoop cereal into a bowl.
- Take a pipe cleaner and begin threading the hoop cereal onto it.
- Slide the cereal down to the bottom as you go, filling up most of the pipe cleaner.
- Once you’ve threaded enough cereal, twist the ends of the pipe cleaner together to form a loop or any fun shape, such as a heart or circle.
- You can either hook the pipe cleaner directly onto a tree branch or attach a piece of string to hang it from higher branches.
You'll need:
- 175g birdseed
- 65g flour
- 40g honey
- 60ml water
- Cookie cutters
- Greaseproof paper
- Twine or string
- Fork
- Mixing bowl and spoon
Instructions:
- Pour the flour into a mixing bowl.
- Add the water and honey into the bowl and stir to create a sticky paste.
- Gradually add the birdseed to the mixture, stirring until all the seeds are fully coated.
- Place cookie cutters on a baking tray lined with greaseproof paper.
- Spoon the birdseed mixture into the cookie cutters, pressing it down firmly to fill the shapes completely.
- Use a fork to poke a hole near the top of each shape for hanging.
- Allow the shapes to dry for several hours or overnight until they become firm.
- Once dry, gently remove the birdseed shapes from the cookie cutters.
- Thread a piece of twine or string through the hole, tie a knot, and hang the bird feeders from a tree branch.
You’ll need:
- Apple
- Bowl
- Spoon
- Peanut butter
- Bird seed
- String
- Kitchen roll
Instructions
- Take an apple and wash it.
- Carefully, cut off one third of the apple from one side.
- Using a spoon, hollow out the larger part of the apple.
- In a bowl, mix half a cup of peanut butter with a cup of bird seed.
- Pack the hollowed apple full using the peanut butter and seed mix.
- Tie your string around the stem of the apple.
- Hang the apples in a suitable place.
- If people are taking them home, you could place them on kitchen roll or in a paper bowl.
Reflection
This activity was all about making bird feeders. How else can people help the natural world around them? People could plant wildflowers for bees, pick up litter in the park or at the beach, or leave water out for birds.
Making bird feeders was a little activity that was lots of fun – but it’ll make a big difference. There are lots of other small things people can do to help their communities. Can anyone think of any?
Safety
All activities must be safely managed. You must complete a thorough risk assessment and take appropriate steps to reduce risk. Use the safety checklist to help you plan and risk assess your activity. Always get approval for the activity, and have suitable supervision and an InTouch process.
- Gardening and nature
Everyone must wash their hands after the activity has finished. Wear gloves if needed. Explain how to safely use equipment and set clear boundaries so everyone knows what’s allowed.
- Scissors
Supervise young people appropriately when they’re using scissors. Store all sharp objects securely, out of the reach of young people.
- Food
Remember to check for allergies, eating problems, fasting or dietary requirements and adjust the recipe as needed. Make sure you’ve suitable areas for storing and preparing food and avoid cross contamination of different foods. Take a look at our guidance on food safety and hygiene.
- Sharp objects
Teach young people how to use sharp objects safely. Supervise them appropriately throughout. Store all sharp objects securely, out of the reach of young people.
- Rubbish and recycling
All items should be clean and suitable for this activity.
- To make this activity easier, you could prepare some of the tasks or bird feeders in advance. For example, you could core the apples, cut and scoop out the oranges, or cut the hole in the juice cartons.
- Check for allergies when using foods in activities (even if not for consumption), such as making bird feeders with peanut butter. This may include making sure no-one at home has a relevant allergy if the item will be taken home. This may mean you need to change the ingredients used. If you’re unsure, check with the young person and their parents or carers. You can check with the adult directly if it’s a volunteer or helper.
- If activities involve getting messy or touching certain textures, make sure everyone is comfortable. People could wear gloves, work with a friend to help them, or use a spoon or lollipop stick to apply the mixture. Always speak with the person, and their parents or carers about what materials they’re comfortable with.
- If someone has difficulty with fine motor skills, such as knot tying, threading, cutting or pouring, let them work with a friend, a young leader or an adult volunteer. People could use tools, such as funnels or easy grip peelers, to help them. They could also use larger, thicker materials that are easier to handle, such as thicker string.
- Some people may be sensitive to strong smells, such as those found in the ingredients or soap. You may want to avoid using strong scents and use fragrance free soap and cleaning products. You should try to contain the smells to one space, making sure people know they can take a break or step away should they need to. Check before and during the activity that everyone is comfortable, and make sure everyone knows that they can leave the activity at any point.
All Scout activities should be inclusive and accessible.